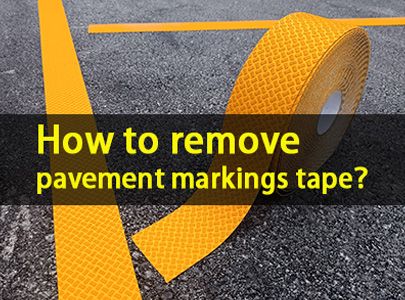
How to apply Pavement Marking Tape: Quick & Effective Guide
Pavement marking tape provides durable, visible lines for roads, parking lots, and industrial areas. Proper installation ensures longevity and safety compliance. Follow these steps for optimal results:
1. Pre-Installation Preparation
Surface Cleaning
Begin by thoroughly cleaning the pavement surface. Remove dirt, oil, debris, and existing markings using a high-pressure washer, broom, or industrial-grade cleaner. A clean surface ensures optimal adhesion of the tape.
Surface Inspection
Check for cracks, potholes, or uneven areas. Repair these issues before installation, as uneven surfaces can cause premature peeling or wear.
Weather Considerations
Install tape in dry conditions with temperatures between 50°F and 90°F (10°C–32°C). Avoid installation during rain, high humidity, or extreme heat, as these conditions affect adhesive performance.
2. Measurement and Layout
Marking Design
Use chalk lines or laser guides to outline the desired markings (e.g., lane lines, crosswalks). Follow local regulations for dimensions and spacing.
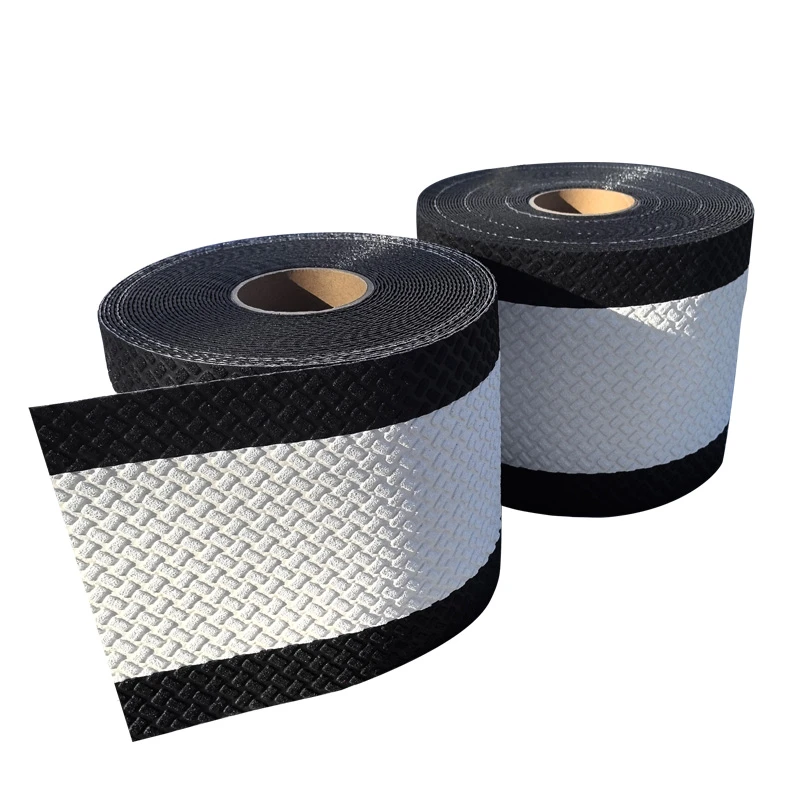
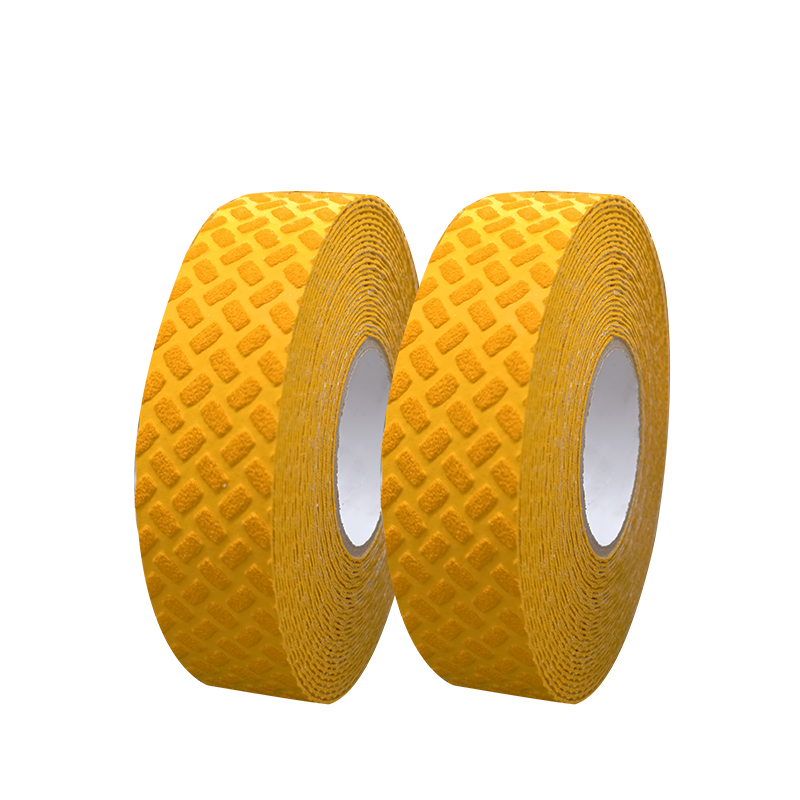
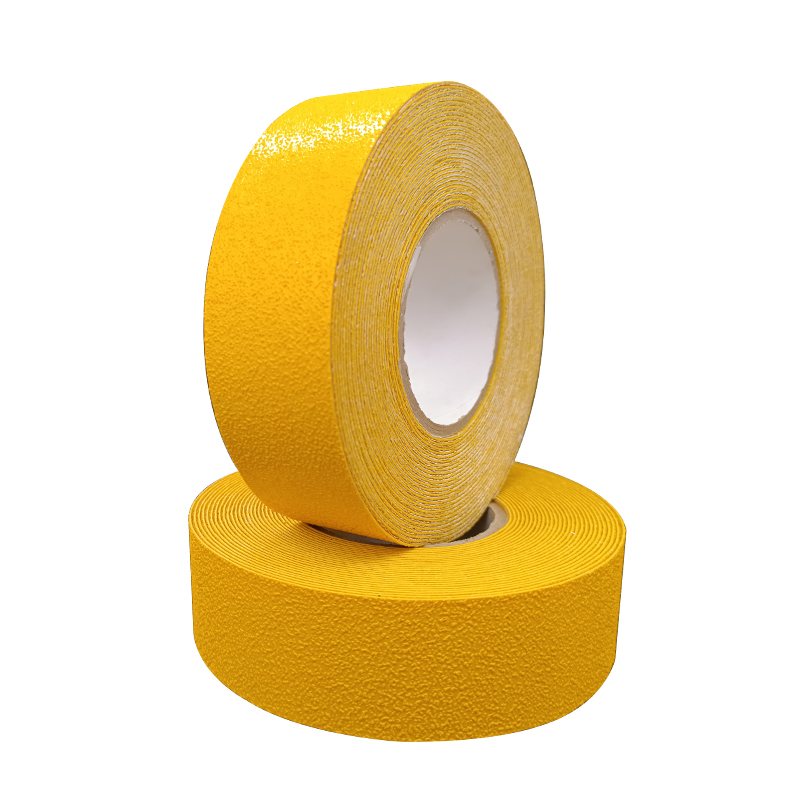
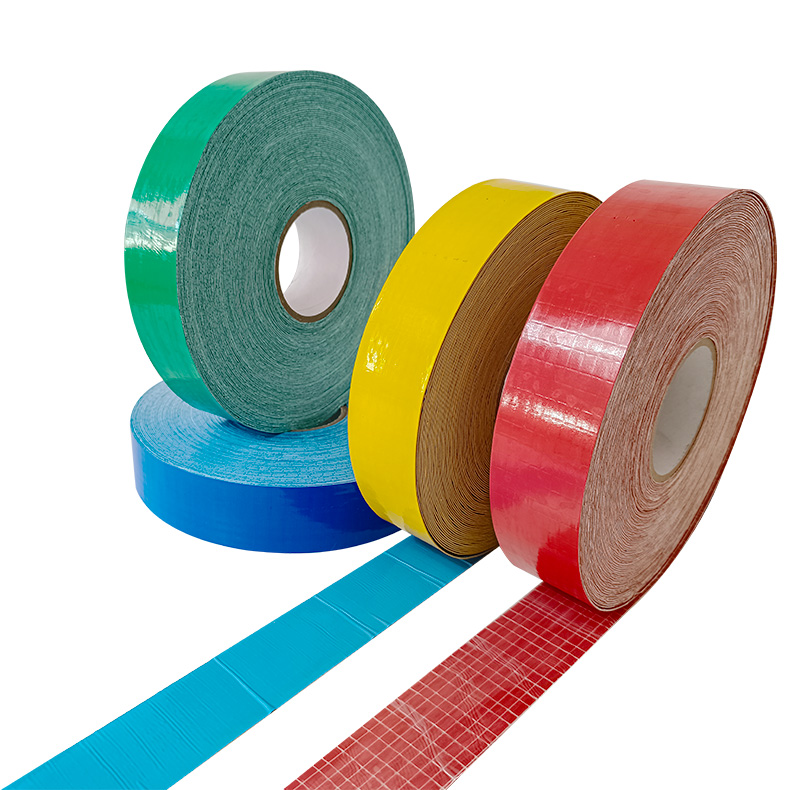
Tape Selection
Choose tape based on traffic volume and environmental needs:
·Reflective Tape: Ideal for high-traffic roads (contains glass beads for nighttime visibility).
·Non-Reflective Tape: Suitable for parking lots or low-speed areas.
·Thermoplastic Tape: Offers superior durability for heavy-duty applications.
3. Application Process
Priming the Surface (Optional)
For enhanced adhesion, apply a primer or bonding agent to the pavement. This step is critical for older or porous surfaces.
Tape Placement
1.Peel off the tape’s backing and align it with the chalk lines.
2.Press the tape firmly onto the pavement, starting from one end and smoothing it outward to avoid air bubbles.
3.Use a hand roller or mechanical roller to apply even pressure across the tape, ensuring full contact with the pavement.
Cutting and Shaping
Trim excess tape using a utility knife or specialized cutting tools. For curves or complex designs, pre-cut the tape to fit the layout.
4. Post-Installation Care
Curing Time
Allow 24–48 hours for the adhesive to fully bond before opening the area to traffic. Avoid heavy loads during this period.
Maintenance Tips
·Regularly inspect for wear or damage.
·Clean tape surfaces with mild detergent to maintain reflectivity.
·Reapply primer or adhesive if edges begin to lift.
Common Mistakes to Avoid
·Skipping Surface Prep: Poor adhesion leads to peeling.
·Ignoring Weather Conditions: Humidity or cold temperatures weaken bonds.
·Using Low-Quality Tape: Opt for ASTM-compliant materials to ensure durability.
Why Proper Installation Matters
Correctly installed pavement marking tape enhances safety, reduces accidents, and minimizes long-term maintenance costs. For high-traffic areas, consider professional installation to meet regulatory standards and ensure optimal performance.
Pavement marking tape installation, road marking guide, reflective tape application, durable pavement markings, DIY road safety.
By following these steps, you can achieve professional-grade results while extending the lifespan of your pavement markings.